| Line 11: | Line 11: | ||
4. '''Select''' the ''Contract Type ''from the drop-down''.'' | 4. '''Select''' the ''Contract Type ''from the drop-down''.'' | ||
| − | <div class="image-green-border">[[File:Search sync 7.8.PNG]]</div> | + | <div class="image-green-border">[[File:Search sync 7.8.PNG|720px|RTENOTITLE]]</div> |
5. To get the Sys Ids, '''click''' the ''Upload CSV'' button to upload the .CSV Agreement or '''enter''' the Sys Id using comma separated value. | 5. To get the Sys Ids, '''click''' the ''Upload CSV'' button to upload the .CSV Agreement or '''enter''' the Sys Id using comma separated value. | ||
| Line 17: | Line 17: | ||
7. Click the ''Upload CSV'' button to upload the CSV document. The ''Upload Document ''window opens. | 7. Click the ''Upload CSV'' button to upload the CSV document. The ''Upload Document ''window opens. | ||
| − | <div class="image-green-border">[[File:Admin Task - Search Sync - Upload Document.PNG|Admin Task - Search Sync - Upload Document 7.8]] </div> | + | <div class="image-green-border">[[File:Admin Task - Search Sync - Upload Document.PNG|720px|Admin Task - Search Sync - Upload Document 7.8]] </div> |
If the uploaded file format is incorrect, then a validation message window opens. | If the uploaded file format is incorrect, then a validation message window opens. | ||
| − | <div class="image-green-border">[[File:Admin Task - Search Sync - Upload Document - Invalid Format message.PNG|Admin Task - Search Sync - Upload Document - Invalid Format message 7.8]]</div> <div class="image-green-border"> </div> <div class="image-green-border">7. When the Agreement is uploaded or SysId is provided, the ''File Path'' field is displayed. </div> <div class="image-green-border"> </div> <div class="image-green-border">8. '''Click '''''Sync''. The ''Sync Request Accepted ''message is displayed. </div> <div class="image-green-border"> </div> <div class="image-green-border">[[File:Admin Task - Search Sync - Sync Request Accepted.PNG|Admin Task - Search Sync - Sync Request Accepted.PNG]]</div> <div class="image-green-border"> </div> <div class="image-green-border">9. '''Click '''''OK''.</div> <div class="image-green-border"> </div> <div class="image-green-border"> </div> <div class="image-green-border"> </div> <div class="image-green-border"> </div> <div class="image-green-border"> </div> <div class="image-green-border">'''Related Topics: '''[[Agreement_Management|Agreement Management]] | [[Managing_Organization|Managing Organization]] | [[Managing_Users|Managing Users]] | [[Managing_User_Groups|Managing User Groups]] | [[Managing_Security_Groups|Managing Security Groups]] | [[Application_Settings|Application Settings]] | [[Notification_Settings|Notification Settings]] | [[Currencies|Currencies]] | [[Reasons|Reasons]] | [[Deleting_an_Agreement|Deleting an Agreement]] | [[Legacy_Upload|Legacy Upload]] |</div> <div class="image-green-border"> </div> | + | <div class="image-green-border">[[File:Admin Task - Search Sync - Upload Document - Invalid Format message.PNG|560px|Admin Task - Search Sync - Upload Document - Invalid Format message 7.8]]</div> <div class="image-green-border"> </div> <div class="image-green-border">7. When the Agreement is uploaded or SysId is provided, the ''File Path'' field is displayed. </div> <div class="image-green-border"> </div> <div class="image-green-border">8. '''Click '''''Sync''. The ''Sync Request Accepted ''message is displayed. </div> <div class="image-green-border"> </div> <div class="image-green-border">[[File:Admin Task - Search Sync - Sync Request Accepted.PNG|560px|Admin Task - Search Sync - Sync Request Accepted.PNG]]</div> <div class="image-green-border"> </div> <div class="image-green-border">9. '''Click '''''OK''.</div> <div class="image-green-border"> </div> <div class="image-green-border"> </div> <div class="image-green-border"> </div> <div class="image-green-border"> </div> <div class="image-green-border"> </div> <div class="image-green-border"> </div> <div class="image-green-border">'''Related Topics: '''[[Agreement_Management|Agreement Management]] | [[Managing_Organization|Managing Organization]] | [[Managing_Users|Managing Users]] | [[Managing_User_Groups|Managing User Groups]] | [[Managing_Security_Groups|Managing Security Groups]] | [[Application_Settings|Application Settings]] | [[Notification_Settings|Notification Settings]] | [[Currencies|Currencies]] | [[Reasons|Reasons]] | [[Deleting_an_Agreement|Deleting an Agreement]] | [[Legacy_Upload|Legacy Upload]] |</div> <div class="image-green-border"> </div> |
Revision as of 08:46, 13 September 2019
Search Sync
You can search the documents that an Agreement is linked to. To do so:
1. Click the Admin Task tile.
2. Click the Search Sync button.
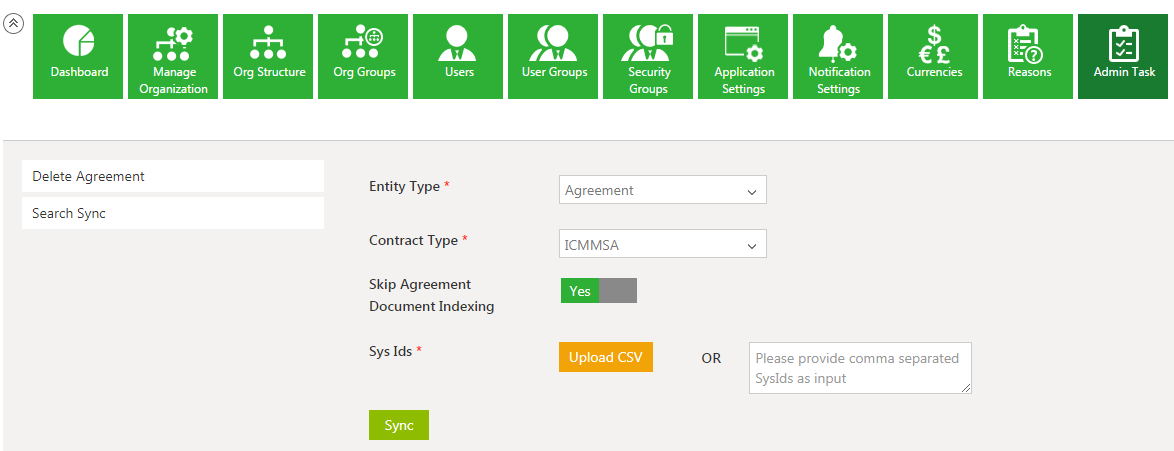
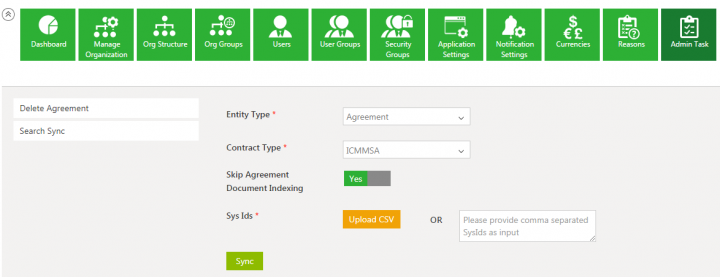
3. Select the Entity Type from the drop-down.
4. Select the Contract Type from the drop-down.
5. To get the Sys Ids, click the Upload CSV button to upload the .CSV Agreement or enter the Sys Id using comma separated value.
6. As required, toggle Yes or No to Skip Agreement Document Indexing.
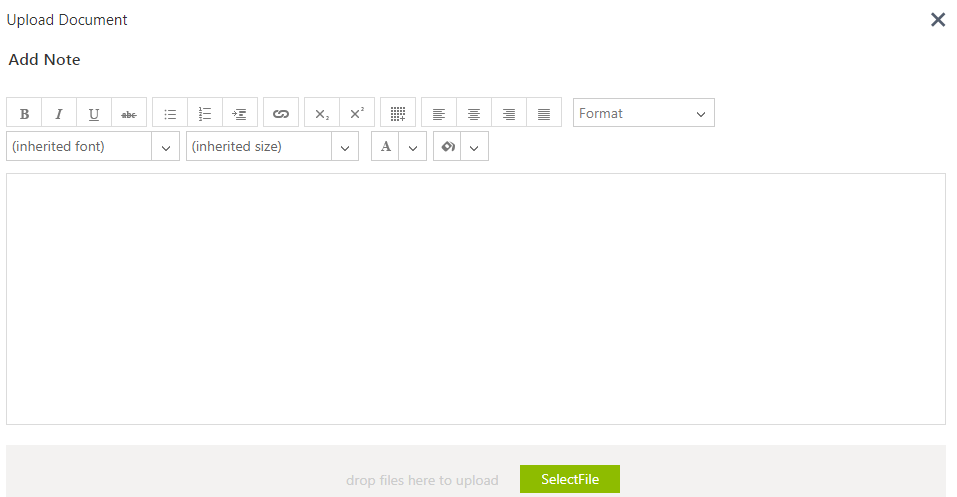
7. Click the Upload CSV button to upload the CSV document. The Upload Document window opens.
If the uploaded file format is incorrect, then a validation message window opens.


