Application Settings
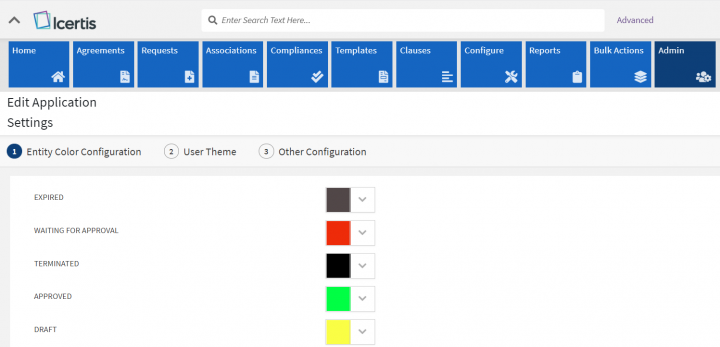
The ICI Administrator can edit various application settings from this page. You can access it by clicking "Admin" from the navigation menu on the top and then clicking "Application Settings".The "Application Settings" page opens.
- The configurable application settings are clearly visible upfront with the following three numbered tabs on a navigation bar.
- Entity Color Configuration
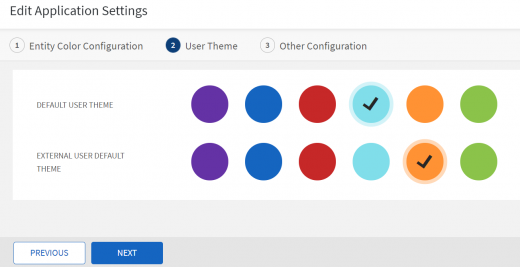
- User Theme
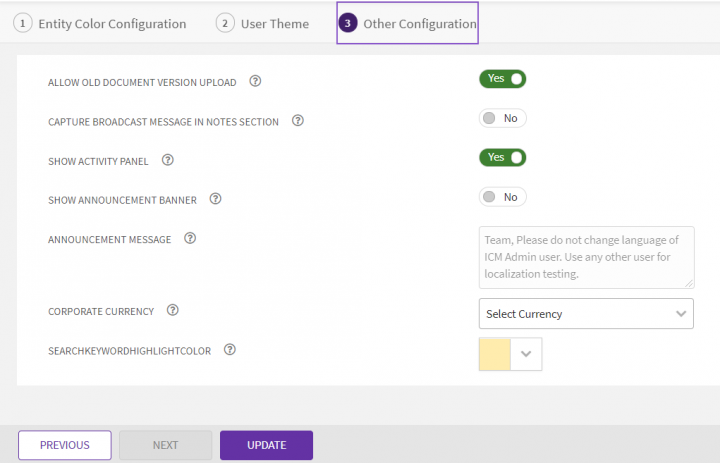
- Other Configuration
- The tab number is highlighted with the theme color to quickly identify where the user is in the wizard settings.
- The numbered navigation bar containing the tabs is made sticky to be visible even while scrolling the page.
- You can either click the number in the navigation bar or click “Next” from the sticky action buttons bar at the bottom of the page to go to the next tab in the settings.
To edit the Application Settings, complete the details in the three tabs:
Entity Color Configuration
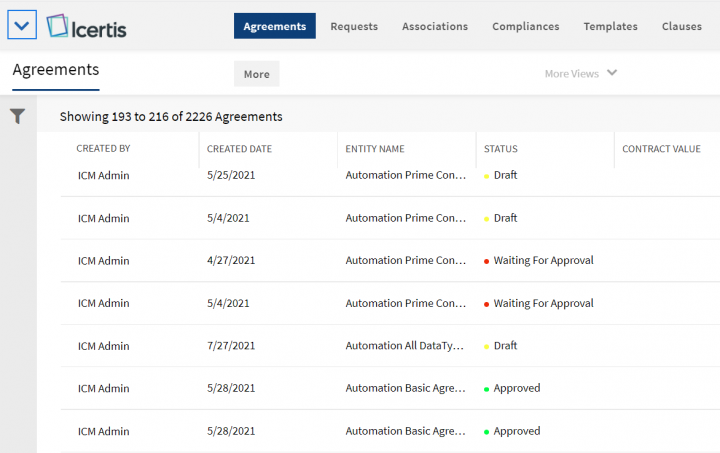
1. Pick colors to assign to the statuses of an entity and click "Next". This helps you identify the entity status easily throughout the system.
- Default User Theme: Select and apply the user theme for internal users. Users with adequate privileges can change the theme.
- External User Default Theme: Select and apply the user theme for external users who can access ICI. External users cannot change the theme from their login.
3. Click "Next".
3. Select from the following options:
- Allow Old Document Version Upload: Click "Yes" to allow uploading older versions of an Agreement.
- Capture broadcast message in the notes section: Click "Yes" or "No" to enable or disable Broadcast messages from being displayed in the Notes section.
- Show Activity Panel: Click "Yes" to show the activity panel icon on the top right of the page to view the recent activities.
3. Click "Update" to save all the changes. A popup with a toast success message flashes at the bottom right.
Displaying an Announcement Banner
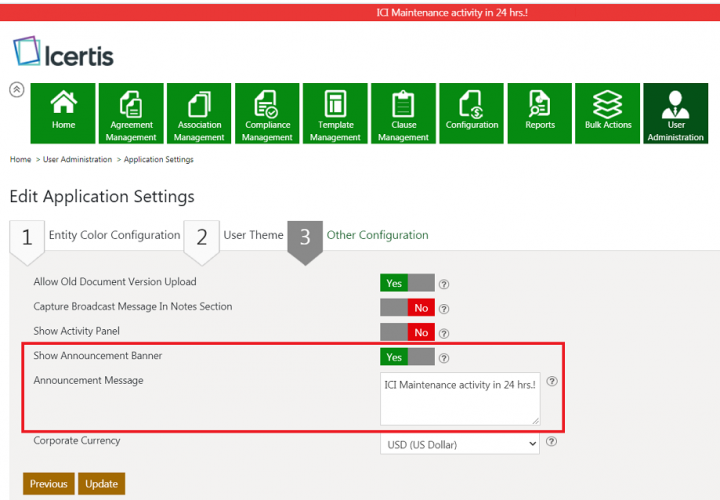
You can display a scrolling banner message to inform users of a scheduled event or an announcement. For example, you can inform users that a maintenance activity is scheduled in 24 hours. A banner will scroll at the top of the ICI window alerting the users of the downtime, so that they can plan their work accordingly.
This can be achieved through Application Settings by toggling the Show announcement banner field to Yes and entering the message to be displayed in the Announcement message box.
Related Topics: Agreement Management | Managing Organization | Managing Users | Managing User Groups | Managing Security Groups | Notification Settings | Currencies | Reasons | Deleting an Agreement | Search Sync | Legacy Upload |
