Linkage Type
The Linkage Type and its sub menu tiles are enabled through technical configuration for an instance.
Defining a Linkage Type label
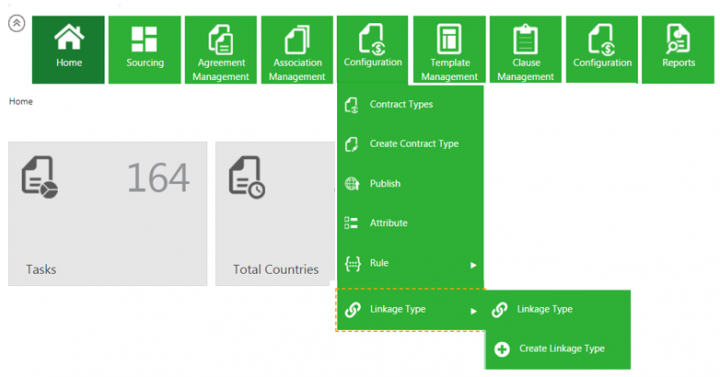
1. Click Configuration > Linkage Type on the Home page. The options to view and create Linkage Types open.
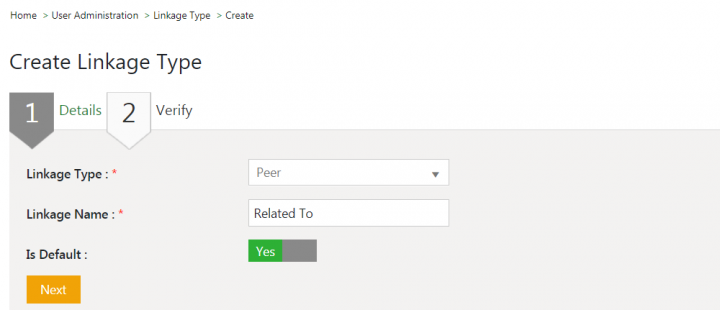
2. Click Create Linkage Type. The Create Linkage Type page opens.
3. Select the Linkage Type from options Peer, Parent or Child. For example, Peer.
4. Enter the Linkage Name. For example, Related To.
5. Toggle Is Default to Yes or No as per the requirement. If set to Yes, the linkage type will be set as default while creating peer associations for agreements.
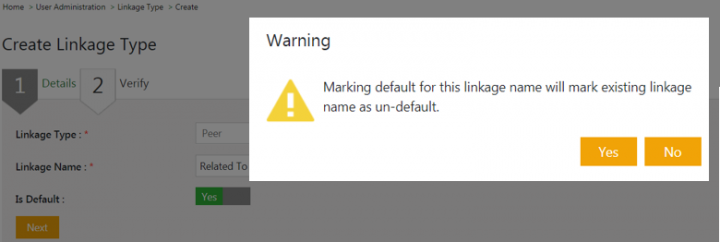
The Warning window opens with the message- Marking default for this linkage name will mark the existing linkage name as un-default.
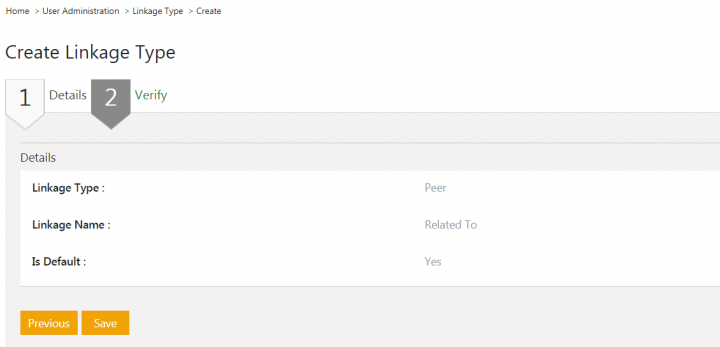
7. Verify the details and click Save.
Working with Linkage Types
Users can view, edit, activate and deactivate the existing Linkage Types.
1. Click Configuration > Linkage Type on the Home page. The options to view and create Linkage types open.
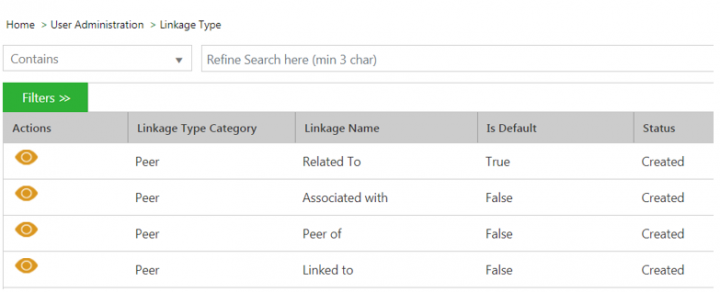
2. Click Linkage Type. The Linkage Type index page opens.
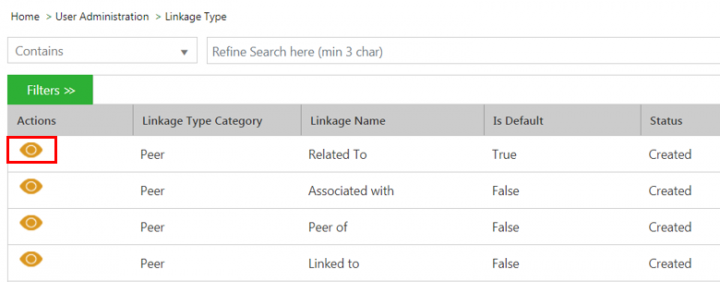
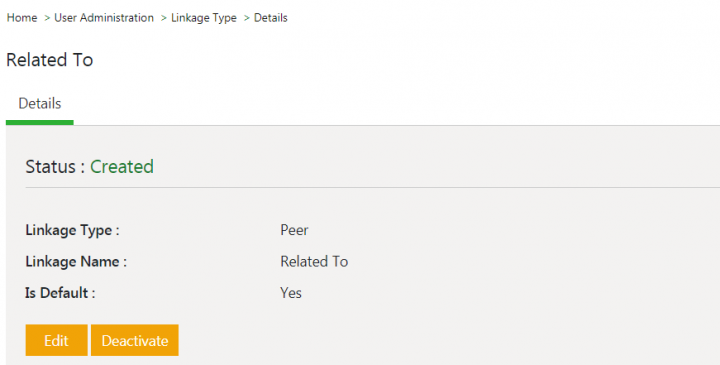
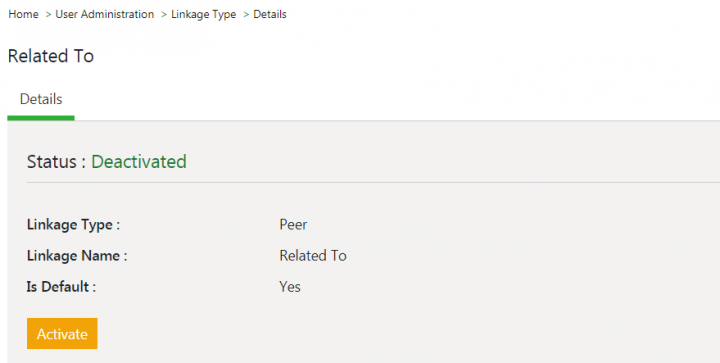
3. Click View Record icon corresponding to the Linkage Type you want to open. The Linkage Type Details page opens.
- Edit
- Activate
- Deactivate
To edit a Linkage Type:
4. Click Edit on the Details page. The Edit Linkage Type page opens.
5. Modify the details as required and click Next. The Verify page opens.
6. Verify the details and click Update. The Linkage Type is updated.
To deactivate a Linkage Type:
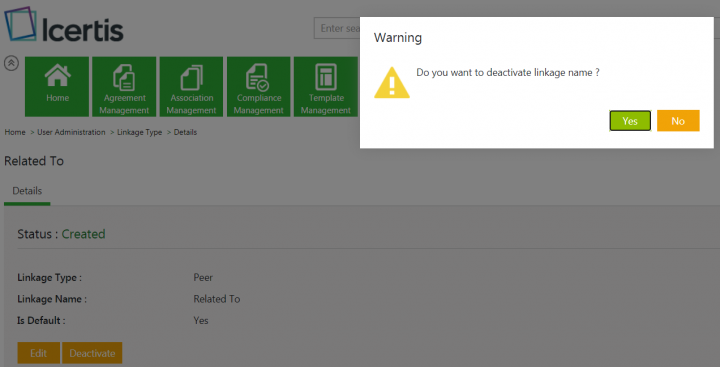
7. Click Deactivate on the Details page. The Warning window opens with the message- Do you want deactivate linkage name?
8. Click Yes. The Linkage Type will be deactivated and will not be available for user selection in Linkage Type drop-down while creating associations.

To activate a Linkage Type:
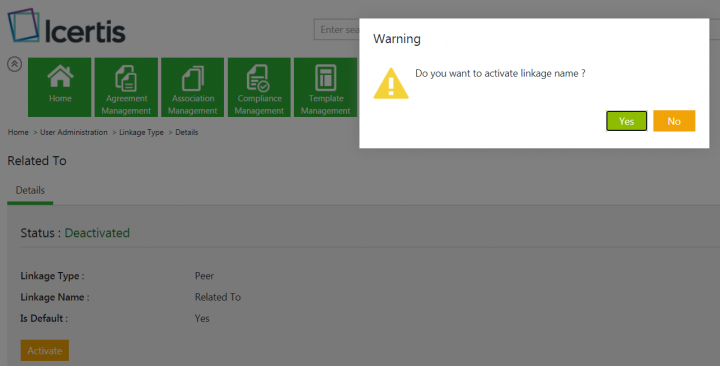
9. Click Activate on the Details page. The Warning window opens with the message- Do you want activate linkage name?
10. Click Yes.
TheLinkage Type will be activated and will be available for user selection in Linkage Type drop-down while creating Peer associations.
Only linkage name is editable in case of parent and child linkage types.
When users deactivate a parent-child linkage type, its corresponding parent/child linkage type will also be deactivated internally.
