Contents
Salesforce
Configuration for allowing user to be redirected to ICM Details page in Salesforce
When creating Contracts, Contract Requests and Amendments from Salesforce, Administrators can now configure whether the users should be redirected to the ICM Contract details page or the Salesforce Record page from where creation process was initiated. This can be configured by selecting the Allow Redirect checkbox on the ICM Endpoint Configuration page. By default, the checkbox is unchecked. When checked, the user is redirected to the Salesforce Record page, else to the ICM Contract detail page.
Purpose
The purpose of this guide is to document the process of:
Configuring ICM in Salesforce.
- Performing Salesforce related configuration in ICM for mapping data entities and saved searches.
The guide also describes the process of using the ICM Salesforce connector for standard scenarios.
The document is primarily intended for:
- Administrator users who configure Icertis Salesforce Connector on Salesforce.com.
- ICM Administrator Users who work on ICM Side Configuration.
- Other users who work with Agreements.
Prerequisites
- The user must have an account on Salesforce and ICM.
- Icertis CLM must be installed on Salesforce.com from Salesforce AppExchange. It is compatible with Group, Professional, Enterprise, Unlimited, Force.com Developer and Performance Editions.
- The user must have admin privileges for ICM and Salesforce in case the user is configuring ICM on Salesforce.
Overview of ICM Salesforce Connector
ICM Salesforce Connector is a native Salesforce application that allows you to access the full suite of ICM functionality from Salesforce, including the following capabilities:
- Manage end-to-end contract lifecycle from the familiar Salesforce platform.
- Create Contract Requests with pre-populated data from Salesforce objects.
- Track contract progress and status updates within Salesforce.
- View contract notifications as part of chatter feed messages.
- Automatically transfer and synchronize data between Salesforce objects and ICM.
- Map Salesforce objects (standard and custom) with ICM entities.
ICM and Salesforce integration is required to port data from ICM to Salesforce. This integration avoids the need for re-entering the data manually in Salesforce which you have already created in ICM.
To use ICM from within Salesforce:
- The ICM sections must be embedded in the Salesforce pages.
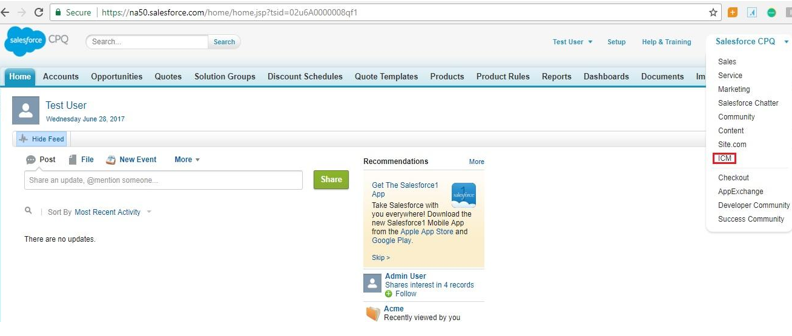
- After logging on to Salesforce, select ICM in the top right corner of your Salesforce page to use ICM through Salesforce.
ICM Salesforce contains the following key concepts:
- Account is a label for business. It is a company or a business entity, you might already be working with, or one that you hope to work with. In simple words, an Account is the actual business or company.
- Opportunity is a pending deal with a monetary value associated with it. It helps to track the pending deals and sales.
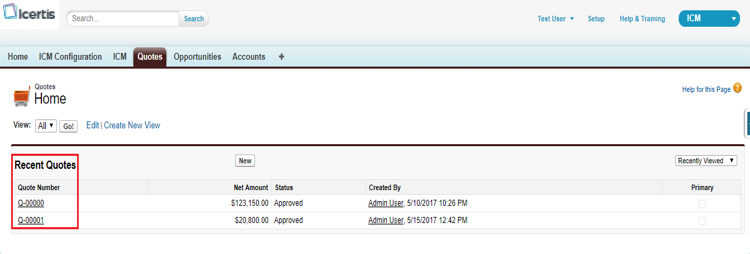
- Quote is the data showing the proposed prices for the products or services. Quotes can be created by using the data that is saved in the Opportunities and shared with the prospective customers. Every opportunity can have multiple associated quotes linked to it.
After integrating ICM with Salesforce, you can do the following contract management tasks in Salesforce:
- Create and edit a Contract Request from an existing Account.
- Create and edit a Contract Request from an existing Opportunity.
- Create and edit a Contract Request from an existing Quote.
- Create and edit a Contract from an Account when a prospective sales lead is qualified and a corresponding account is created.
- Create and edit a Contract from an existing Opportunity.
- Create and edit a Contract from an existing Quote.
Salesforce Side Configuration
Prerequisites
- You must have a Salesforce account.
- You must have administrator privileges to install ICM in Salesforce.
- You must have ICM administrator privileges to configure ICM in Salesforce.
Compatibility
ICM is compatible with the following editions of Salesforce:
- Professional
- Enterprise
- Unlimited
- Developer
- Performance
For more information about the different editions of Salesforce, refer to:
[https://help.salesforce.com/articleView?id=overview_edition.htm&type=0
https://help.salesforce.com/articleView?id=overview_edition.htm&type=0 ]
Installing ICM in Salesforce
To install ICM in Salesforce:
1. Log on to Salesforce.
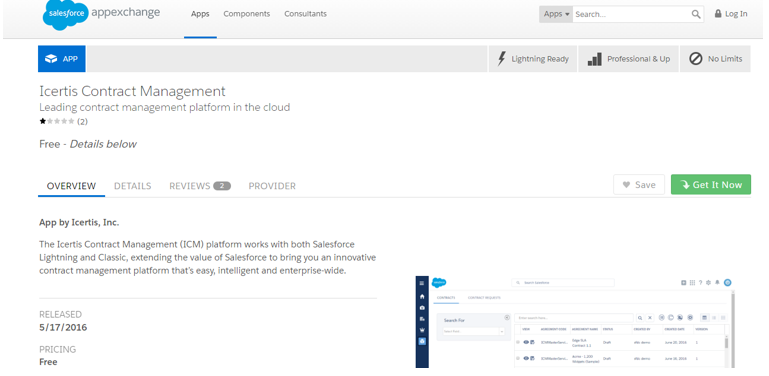
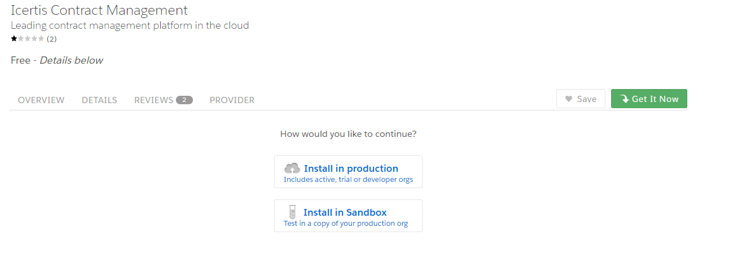
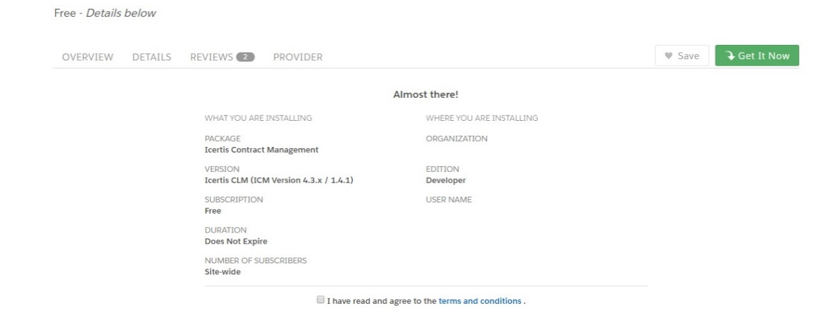
2. Open a new browser instance and go to Salesforce AppExchange to download the ICM application.
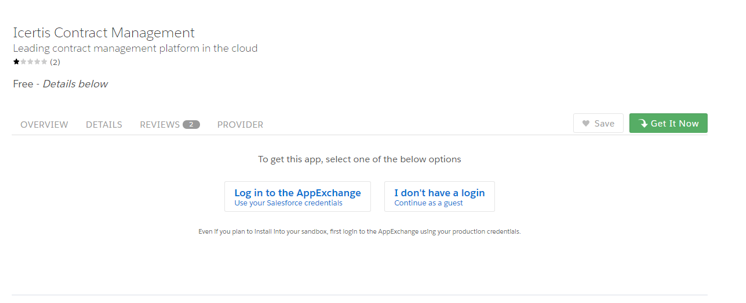
- Log in to AppExchange: Logon to AppExchange using your Salesforce credentials to proceed with the installation.
- I don’t have a login: Install ICM in Salesforce as a guest user.
- Install in production
- Install in Sandbox
- Install for Admins only: install ICM for Salesforce Administrators who can install ICM in Salesforce.
- Install for All Users: install ICM for all users of Salesforce.
- Install for Specific Profiles: install ICM for specific profiles only.
Creating and Managing the Canvas App
Creating the Canvas App
Follow these steps to create a Canvas App:
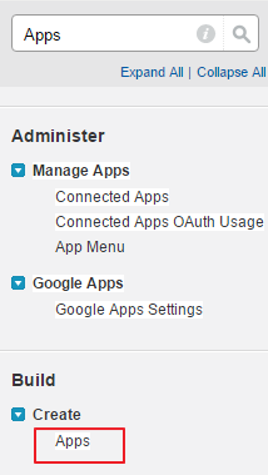
1. In Salesforce, under Setup, search for Apps in the Quick Find box and select Apps.
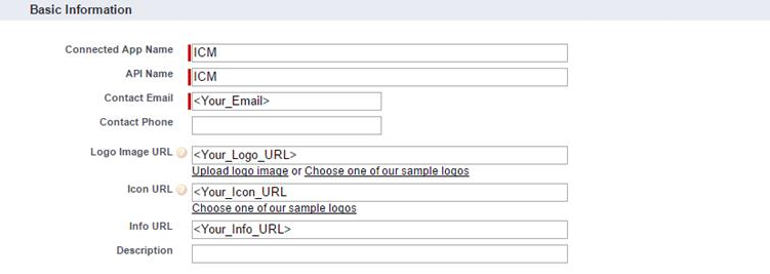
4. Accept the default API Name. This is the internal name of the Canvas App and you cannot change the name after saving it.
5. In the Contact Email field, type your valid email address.
6. In the Logo Image URL field, type the Logo URL that you want to provide.
7. In the Icon URL field, type the Icon URL that you want to provide.
9. In the Callback URL field, type your Callback URL.
10. In the Selected OAuth Scopes field, select Full Access.
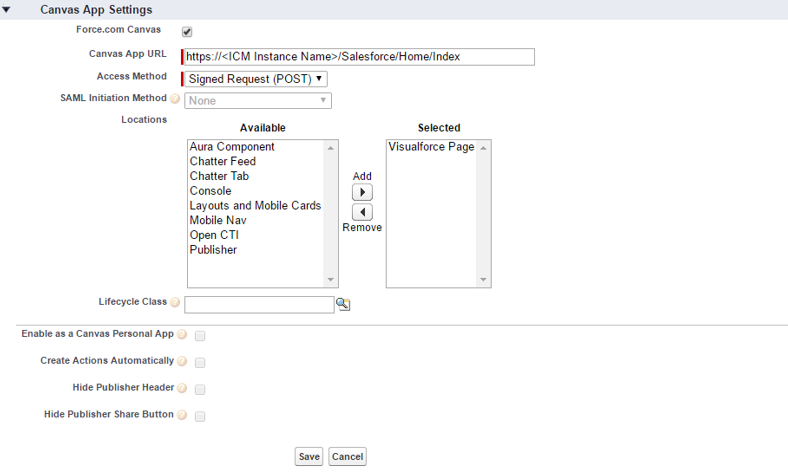
11. In the Canvas App Settings section, select Force.com Canvas.
12. In the Canvas App URL field, type the application URL that you want to sync with Salesforce. This is the application URL, which is integrated with Salesforce.
13. In the Access Method field, select Signed Request (Post)
14. In the Locations field, select Visualforce Page.
Managing the Canvas App
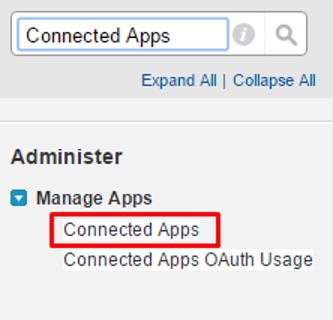
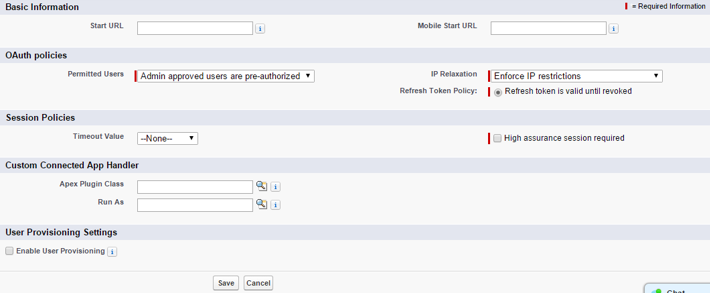
1. In Salesforce, under Setup, search for Connected Apps in the Quick Find box and then select the option for managing Connected Apps.
pop-up message that appears.
4. Click Save.
To understand the following example, consider that you want to give access to the System Administrator profile.
1. In the Profiles related list, click Manage Profiles.
2. Select the System Administrator profile and click Save.
Configuring ICM EndPoint
You can perform ICM EndPoint Configuration only after you have installed Salesforce ICM from AppExchange.
2. Provide relevant information in the respective fields:
| ICM URL | This field is auto-populated on the ICM Endpoint Configuration page when you create a canvas application through Salesforce ICM. Note that depending on the ICM API URL, you will have to change this URL. Typically, API URL follows below convention, https://sfdcdev-api.icertis.com |
| Canvas App Name Resource URI | This field is auto-populated on the ICM Endpoint Configuration page when you create the canvas application through Salesforce ICM. You can also add or edit the Canvas App Name manually from the ICM Endpoint Configuration page |
| Resource URI | This field is auto-populated when you create the canvas application through Salesforce. You must create a Saved Search in ICM for the Resource URI value to get displayed in Salesforce |
| Enable Reverse Integration | Select this check box to enable reverse integration. This causes the data created in ICM to be displayed in the Salesforce entities (from where the contract creation process was initiated) |
| Enable Quick Contract | Select this checkbox to enable creating the Contract for all Salesforce entities with a single click from Salesforce. |
| Enable Iframe | If the Iframe is disabled from the IDP, then select this checkbox to enable the Iframe in Salesforce to open the ICM page in Salesforce in a new tab for creating new Agreements and Requests. |
| Entity Name | Select the entity name from the drop-down. The Entity Name denotes the Salesforce entities that are synced with ICM. |
| Contract Saved Search URI | This denotes the Saved Search created in ICM to map the data between ICM and Salesforce. It is the Contract Saved Search for the corresponding Salesforce entity. |
| CT Saved Search Field | Select the field name which filters the Contracts based on the Saved Search in ICM. |
| CR Saved Search URI | This denotes the Saved Search created in ICM to map the data between ICM and Salesforce. It is the Contract Request Saved Search for the corresponding Salesforce entity. |
| CR Saved Search Field | Select the field name, which filters the Contract Requests based on the Saved Search in ICM. |
| Related Entities | Click the Related Entities textbox corresponding to the Account or Opportunity in Salesforce. The Related Entities dialog box appears. Select the Related Entities records as Associations to the ICM Agreement through Salesforce. You can also configure the conditions by clicking the Add Condition button on the Related Entities window for that specific Related Entity. The entities in this field are auto-populated based on the entity name you selected earlier. |
| Button Label | This is the Text, which will appear as Button Label on UI. |
| Button Type | This button type can be Contract or Contract Request. It is a read-only field, jut to specify the button type. |
| Active | This checkbox Shows Enable state for the button, if it is unchecked then Button will be hidden from UI. |
| Conditional Visibility | This text area will define the conditional visibility criteria of the button. |
