Contents
[hide]Bilingual Templates
Creating a bilingual Template using the Icertis Experience for Word
You can create a bilingual Template using the Icertis Experience for Word and save it in your ICI repository.
1. Login to Icertis Experience for Word. The Welcome (user name) window opens.
2. Click Create to start creating a new template. The Create Template window opens.
Specifying Mandatory Template Details
3. Type the required Template details on the Create Template page.
The following fields are displayed in this section:
- Select Contract Type: Select a Contract Type having Lookup on localized Masterdata Attribute from the list of Contract Types available in the system. For example, MD Localization agreement CT.
- Name: Enter a name for this template. For example, Template Localization.
- Description: Enter a description for this template.
- Version Comments: Type specific details about the version, if required.
- Effective From: Select a date from which this template will be effective. The date cannot be a past date.
- Effective To: Select a date this template is valid till. You can use the template till this date.
- Select Language: Select a primary language for this template. The default language is set to English (United States).
- Select Secondary Language: Select a secondary language for this template. For example, Deutsch (German).
- Date Format: Select the date format for this template. For example,MM/dd/yy.
- Time Format: Select the time format for this template. For example, hh:mm:ss tt.
- Link to another Template: Select this checkbox to link this template to another template. Clearing the checkbox makes this a primary template.
- Team: This is an optional step. You can add Team Members such as Secondary Owner, Contributor, and Approver to the template. This can also be done using the ICI Web.


4. Click the Library tab. The Library section opens.

5. Click the Attributes tab.

6. Click Display and highlight locale attributes checkbox. This opens Select localized attribute language drop-down. The primary language is selected (the first one selected by default). Let’s insert the locale Attributes of English (primary language) and Deutsch (secondary language) as per our selection in the Create Template section.
7. Enter the keyword in the Search field or click the DEFAULT drop-down. For example, let’s click DEFAULT. All localized attributes of English (United States) language from the Contract Type MD Localization agreement CT are displayed.
8. Click the ![]() icon to add the Attributes in the Template.
icon to add the Attributes in the Template.

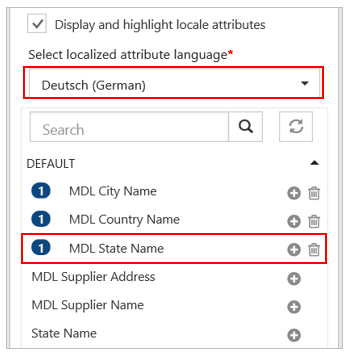
9. To change the localized Attribute language to another language (for example, Deutsch (German)). Click Select localized attribute language drop-down to select the second localized attribute language.
10. Click the

11. To add a Clause having localized attributes, click the Clauses tab.
12. You can search the Clause through the Search field or through an Advanced Search Filter
For example, select MDL clause with English and German tags (having localized Attributes).

13. Click the
14. Click Direct to add the Clause in the document.

The Clauses are added in the document.

15. Click Save. The Template has been saved successfully window opens.
16. You can select one of the following options: Continue Editing, Send For Approval, or Close.

Creating a bilingual Template using the ICI .Net Word Add-In
You can create and manage templates using ICI Word Add-in and save it in your ICI repository.
After the ICI Word Add-in is installed and set up on your computer, the ICI tab opens on the Microsoft Word toolbar. You must log in to ICI before you start creating templates. Follow these steps to log in to ICI:
1. Open Microsoft Word.
2. Click the ICI tab and click Login. The Login window opens.
3. Enter the username and password, and click Sign in.
To Create a Template
1. On the ICI tab, in the Templates group, click Create. The Create Template window opens.
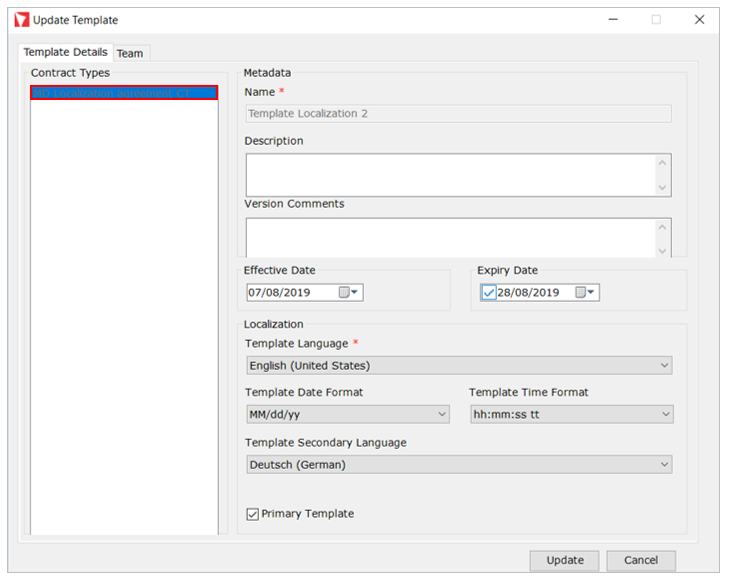
2. Specify details in the Template Details as follows:
- Contract Type:
- Metadata:
- Name: Enter a name for the new Template. For example, Template Localization 2.
- Description: Enter a description about the Template.
- Version Comments: Enter the appropriate version details
- Effective Date: Select the date on which the Template is effective from.
- Expiry Date: Select an expiry date for the Template.
- Localization:
- Select the primary Template Language. For example, English (United States).
- Select the Template Date Format.
- Select the Template Time Format.
- Select Template Secondary Language.
- Contract Type:
- Select the appropriate Contract Type. For example, MD Localization agreement CT.
- Select the Primary Template checkbox.
3. Click Save. The Template gets created.

Tagging localized Attributes in a Template
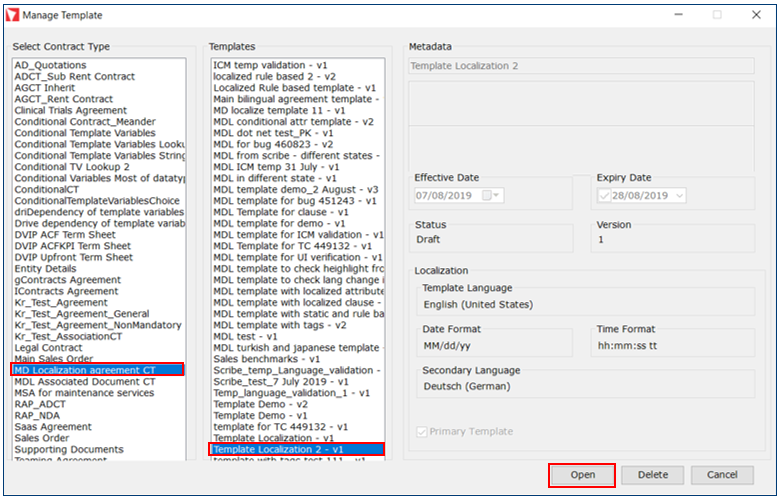
1. On the ICI tab, in the Templates group, click Manage. The Manage Template window opens.
2. Select the Contract Type. For example, MD Localization agreement CT.
3. Select the Template. For example, Template Localization 2 – v1.
4. Click Open. The Template document along with Update Template window opens.
5. In the Attributes tab, click the Display locale attributes checkbox. The primary language and secondary language are selected as per our selection in the Create Template section. Let’s insert the locale Attributes of English (primary language) and Deutsch (secondary language) now.
6. Right click an Attribute in the Templates window.
7. Click Add. The localized attribute is added to the document.

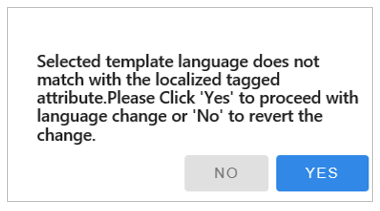
8. To change the localized Attribute language to another language (for example, Deutsch (German)), Display and click Display and highlight locale attributes checkbox to select the second localized attribute language.
9. Right click an Attribute.
10. Click Add. The secondary language localized attribute is added to the document.

11. To add a Clause having localized attributes, click the Library Clauses tab.
12. Click Display locale attributes checkbox. The primary language is selected (first one selected by default). Let’s insert the locale Attributes of English (primary language) and Deutsch (secondary language) as per our selection in the Create Template section.

13. Right click the Clause. For example, MDL clause with English and German tags.
14. Click Add. The Clause successfully added window opens.

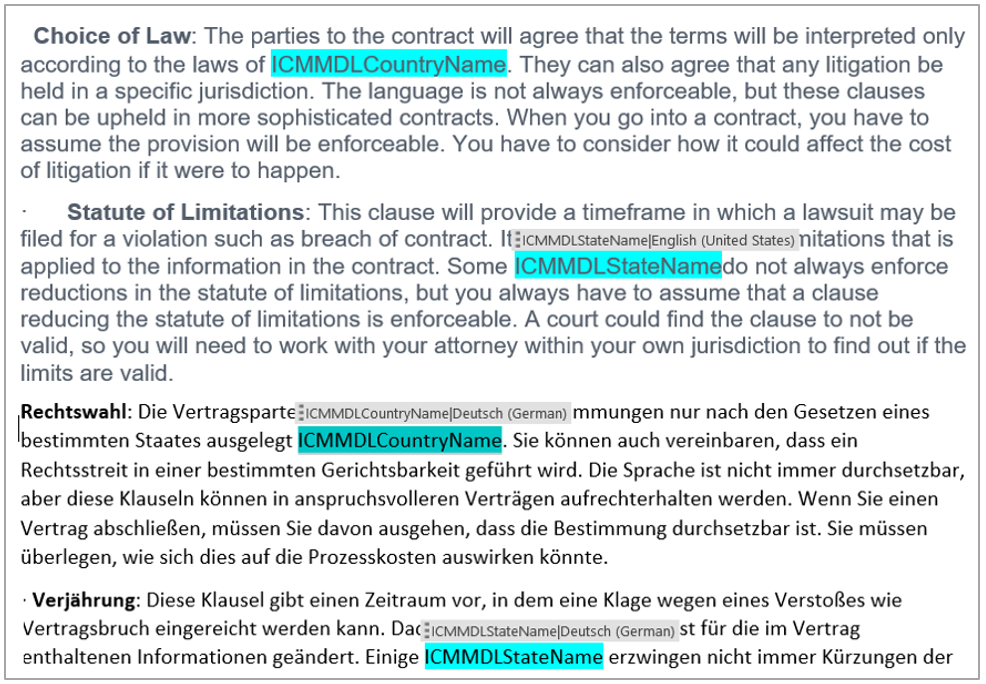
15. Click OK. The Clause with a bilingual localized attribute is added to the Template document.
16. Click Update.
The Clauses with bilingual localized attribute are added in the Template document as shown below:
Creating a bilingual Template using the ICI Web
You can create and manage templates using ICI Word Add-in and save it in your ICIs.
To create a Template in ICI
1. Click the Template Management tile on the Dashboard. The Template Management page opens.
2. Click the Create Template tile. The Create Template page opens.
3. Select the Contract Type from the Contract Type Name drop-down list. For example, MD Localization agreement CT.
4. Enter a Template name in the Name field. For example, Template Localization 3.
5. The Template Code is auto-generated.
6. Select the primary Template Language from the drop-down list. For example, English (United States).
7. Select the Template secondary Language from the drop-down list. For example, Deutsch (German).
8. Click Yes to make it Primary Template.
9. Enter all the details on Create Template Details page.
10. Click Next. The Template Variables section opens.

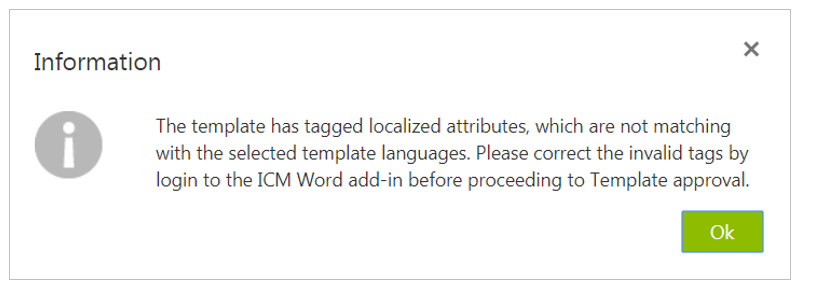
Note: If there is a mismatch between the language selected in ICI and the uploaded Template file, ICI doesn’t restrict the user however, a message is displayed indicating to correct the language in the Template document later through ICI Word Add-in (mismatched localized tagged Attribute is highlighted in pink color in ICI Word Add-in not in ICI web).